Reverse-Engineering the Casio SK-1, part 2: The ROM is now an Arduino
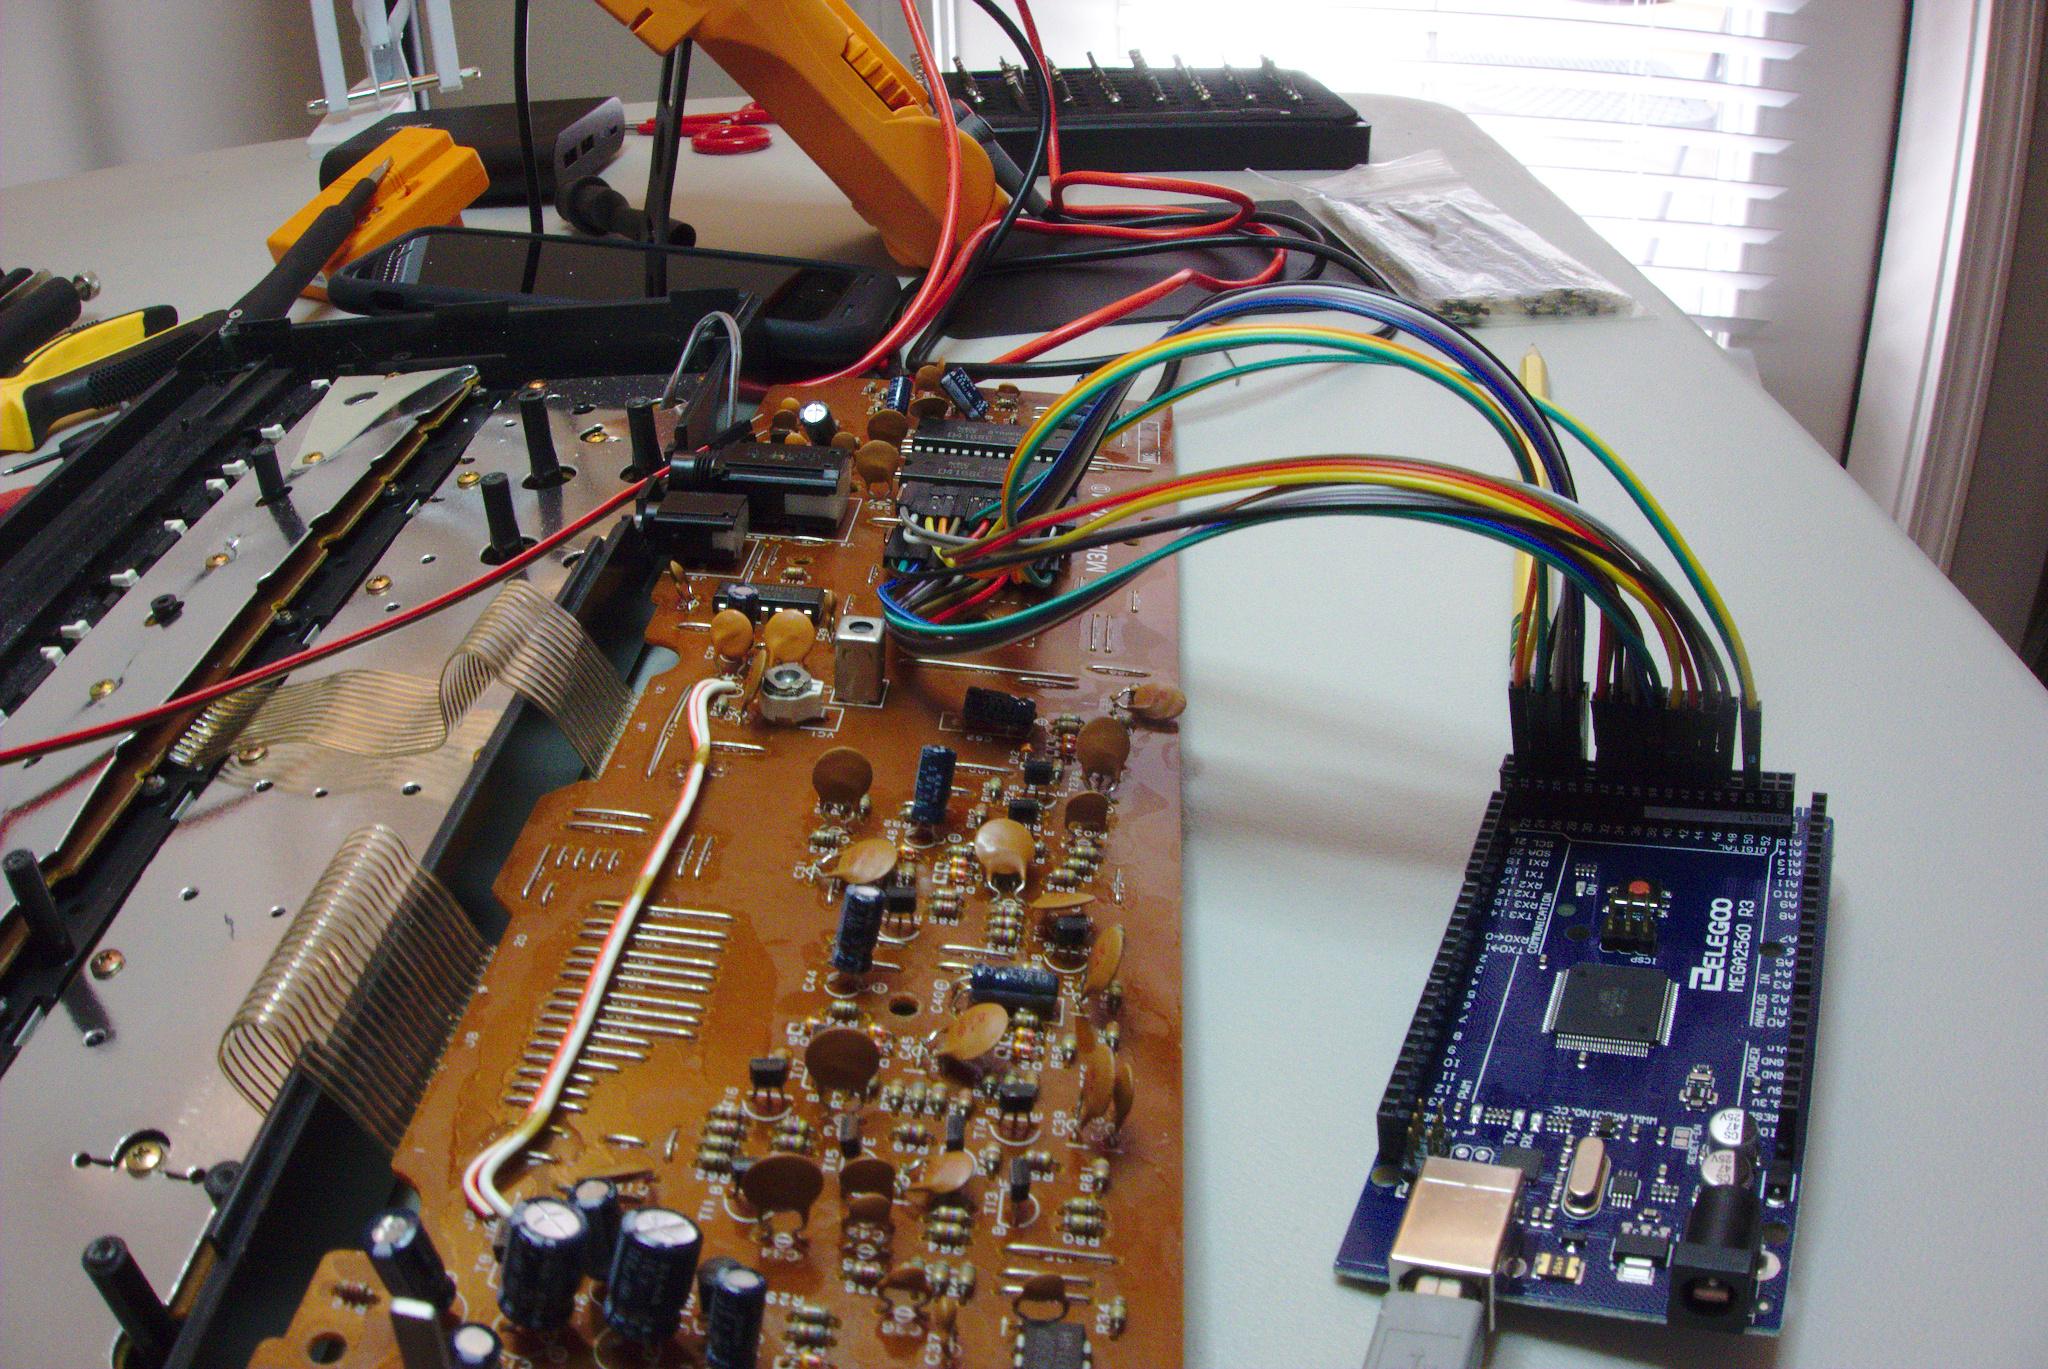
After some trial and error, I settled on adding some right-angle connectors to the board where the ROM lived. I staggered them so that the connectors would fit properly.

I used the same pins on both sides that I’d used to dump the ROM, however, now the inputs and outputs are switched because we’re getting address data from the keyboard and sending back bytes.
In addition, I connected a digital I/O pin to the Chip Enable (CE) pin to be able to tell when the keyboard is trying to read from ROM or when it’s trying to communicate with RAM.

After a bit of plumbing, I modified the code on the Arduino to invert how it operated previously.
//D22-D29 => D0-D7
//D32-D46 => A0-A14
//D50 => CE

const PROGMEM byte rom[] = {
    0xE2, 0x03, 0x90, 0xC2, 0x02, 0x20, 0xE2, 0x21, 0x20, 0x00, 0x02, 0x00, 0x00, 0x02, 0x50, 0x00,
    0x20, 0x40, 0x04, 0x00, 0x10, 0x04, 0x00, 0x10, 0xFF, 0xFF, 0xFF, 0xFF, 0xFF, 0xFF, 0xFF, 0xFF,
    //blah blah blah
};

void setup() {
  //Serial.begin(2000000);
  for (byte i = 22; i < 30; i++) {
    pinMode(i, OUTPUT);
  }

  for (byte i = 32; i < 47; i++) {
    pinMode(i, INPUT);
  }

  pinMode(50, INPUT);
}

void loop() {
  int oldaddr = 0;
  byte addr = 0;
  //this is hacky but it *should* work
  while (digitalRead(50) == 0) {
    //get address pin states
    for (byte x = 0; x < 16; x++) {
      int bit = digitalRead(32 + x);
      addr |= (bit << x);
    }
    if (addr != oldaddr) {
      for (byte x = 0; x < 8; x++) {
        int bit = (rom[addr] & (1 << x)) != 0;
        digitalWrite(22 + x, bit);
      }
    }
  }
  if (addr != 0) {
    for (byte x = 0; x < 8; x++) {
      int bit = (rom[addr] & (1 << x)) != 0;
      if (bit == 1) {
        digitalWrite(22 + x, 0);
      }
    }
  }
}
Fired it up, and results were not as expected.
I broke out a logic analyzer to see what was going on, and my suspicions were confirmed: the Arduino could not change its pin states as quickly as the previous ROM allowed access.
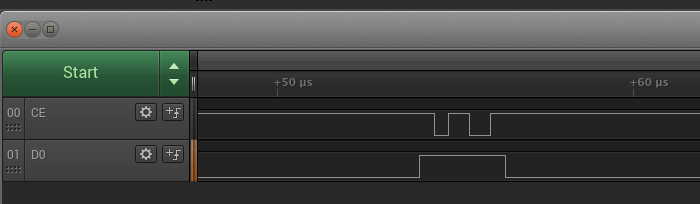
In essence, when CE goes high, all data lines should go to 0. When CE is low, the chip is enabled. The Arduino isn't cycling quickly enough.
The next step will be trying an EEPROM or something similar that will have sub-200ns access times (per the ROM spec), and using the Arduino to program it.
Update: Let's try NVRAM!

Bitwise Operations and Common Uses: Decoding TCP and IPv4 Headers using AND and Bitwise Shifts
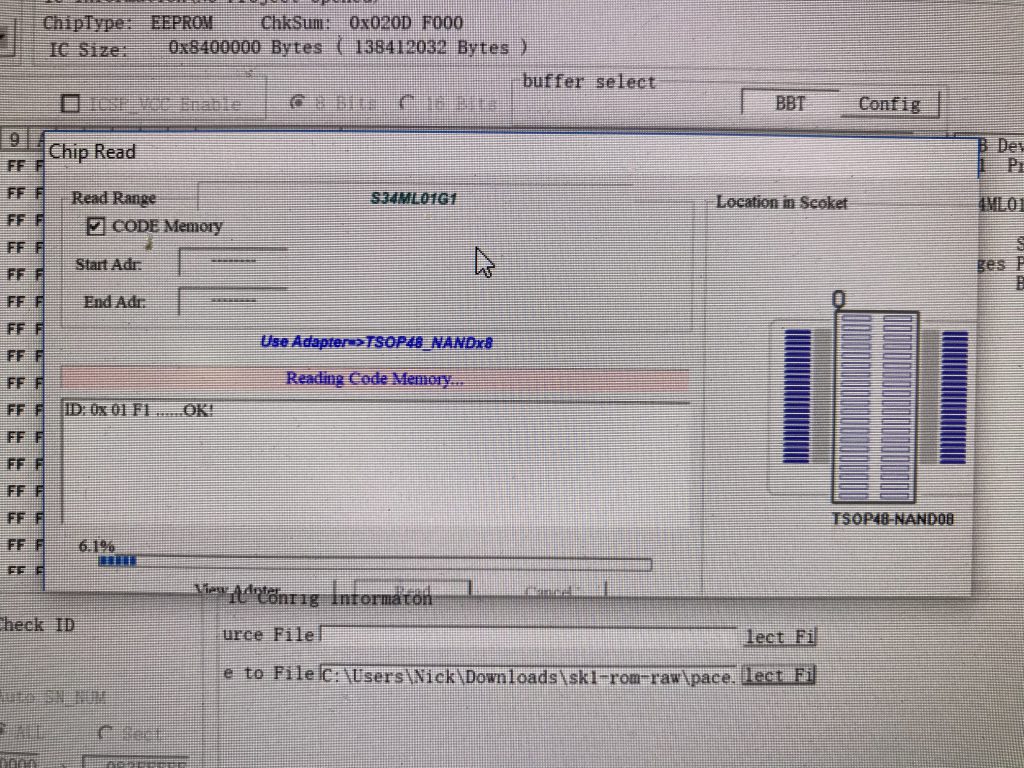
Getting into the Pace 5268AC Router, part 2: Dumping the Flash Chip, Finding Keys