Let’s Repair an Ancient Macintosh SE/30, part 2: What the Hell is a Simasimac?
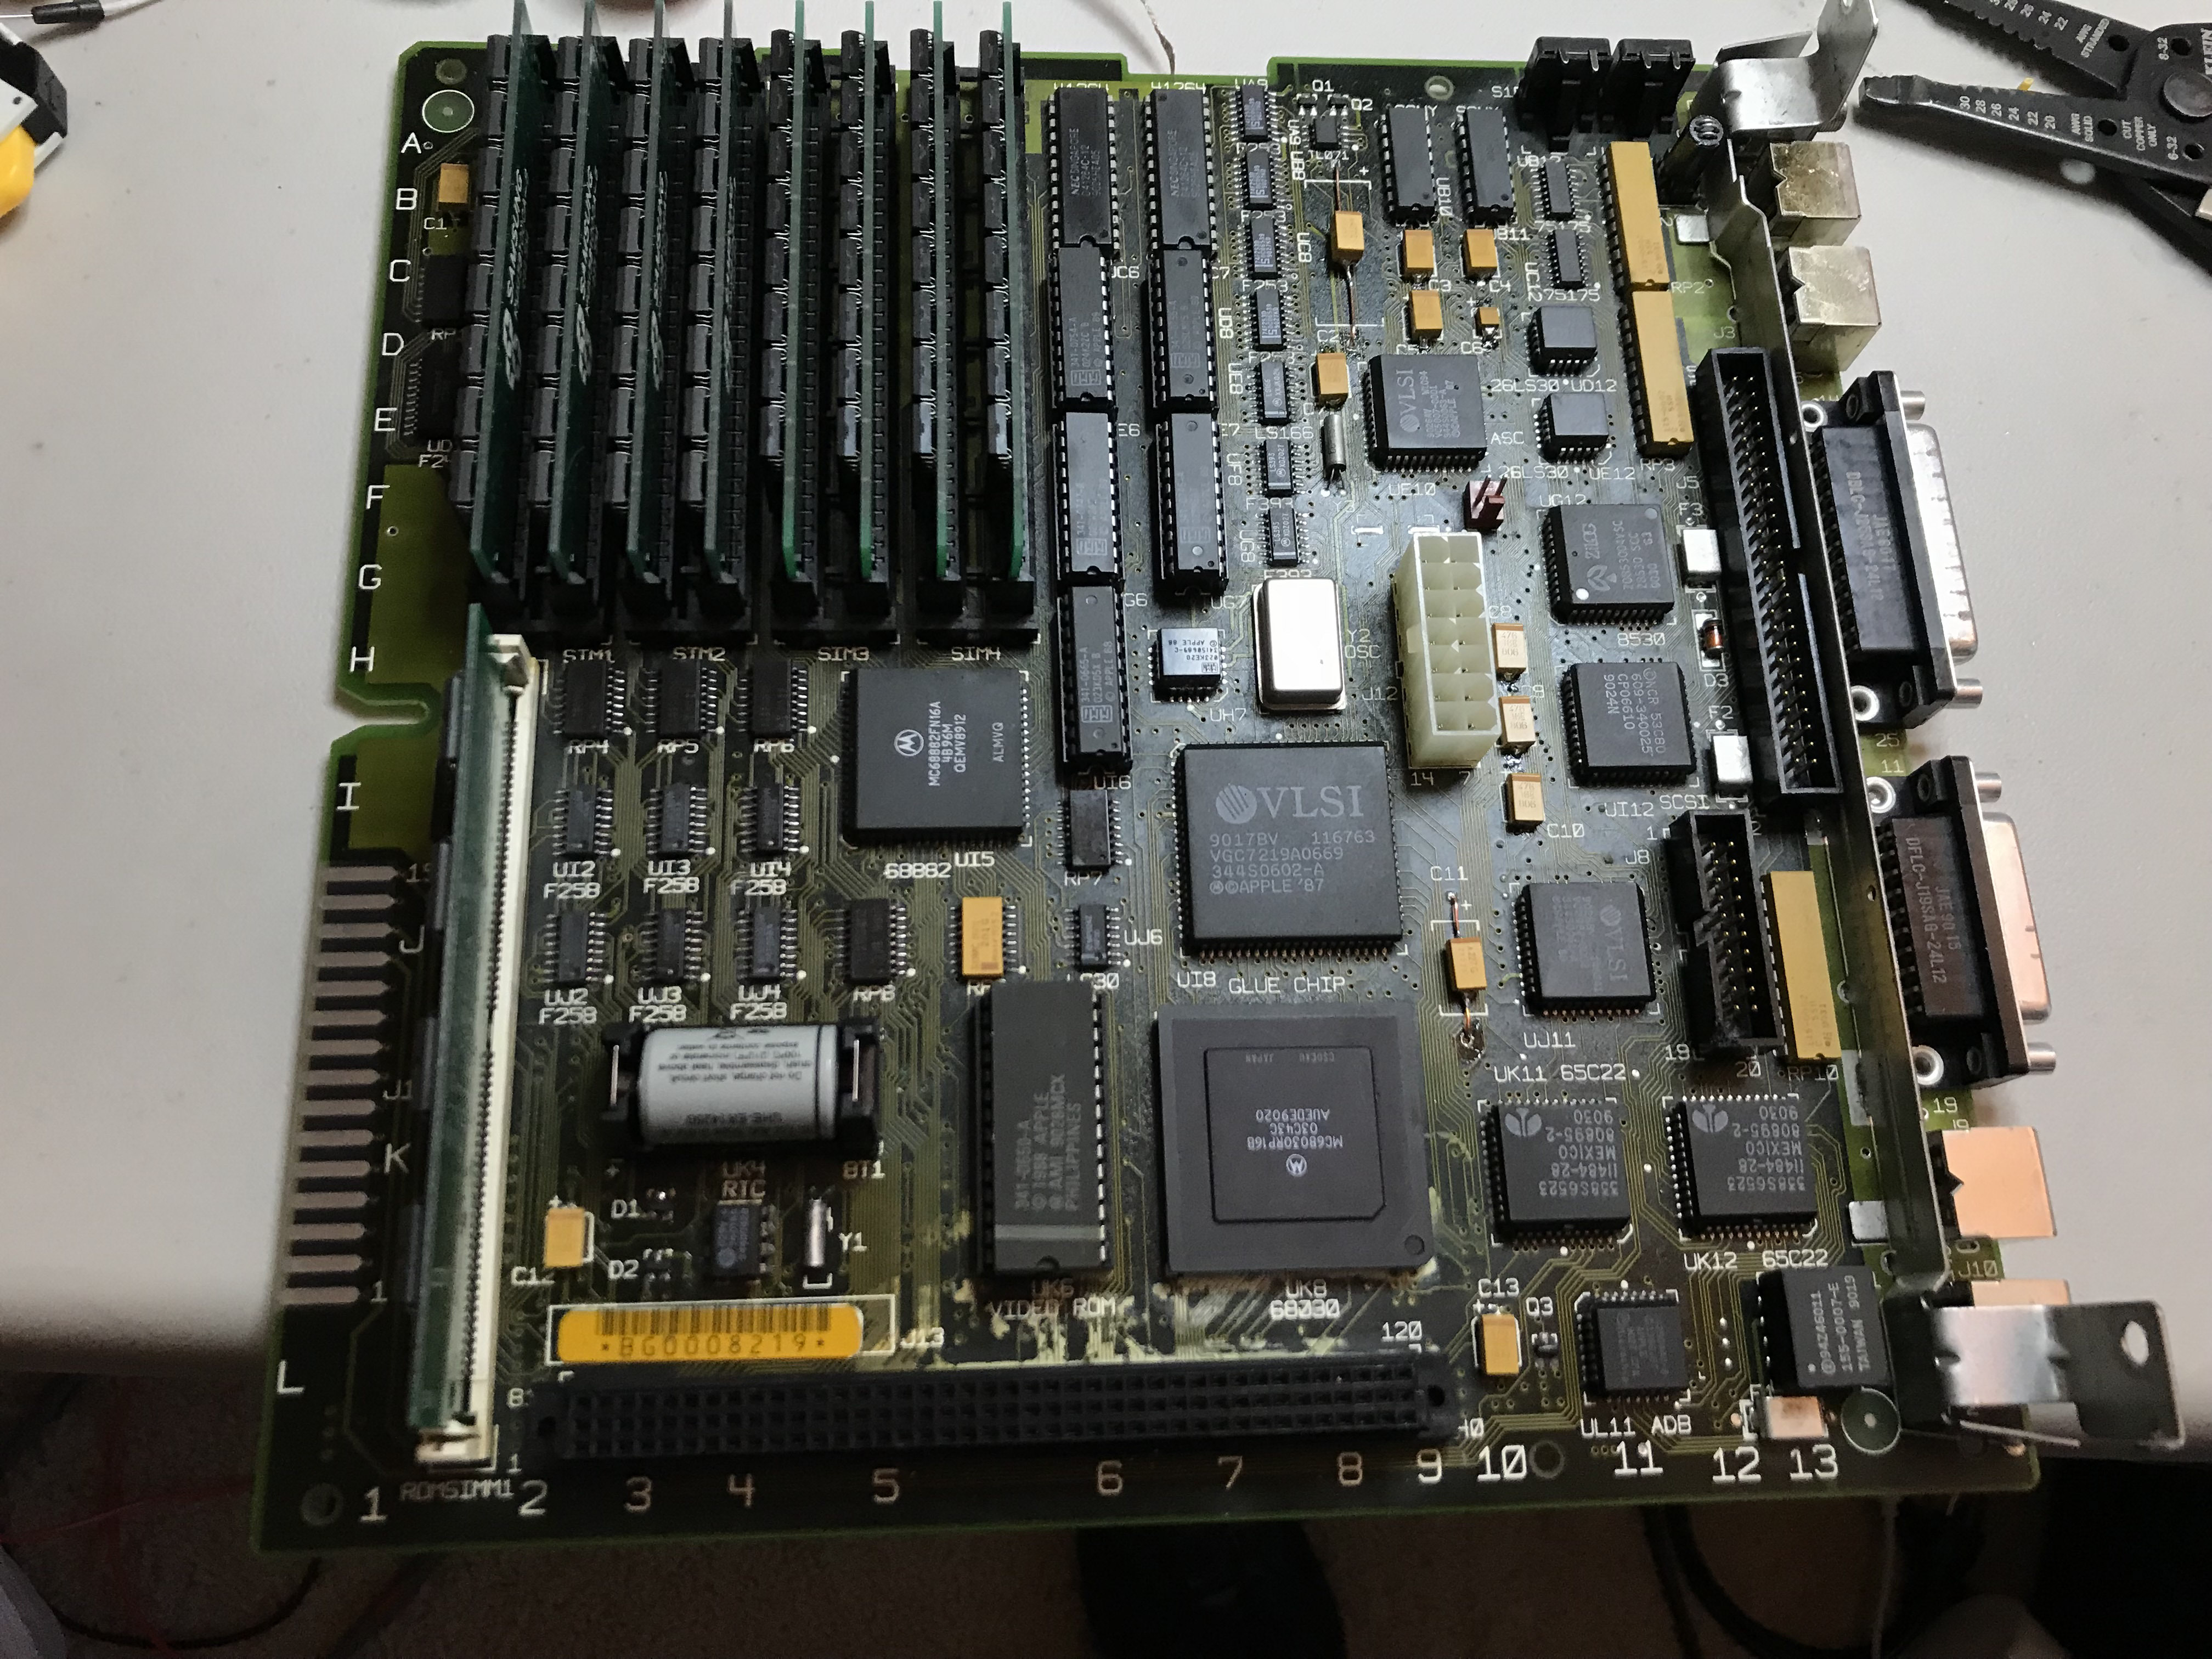
After the previous post, the first order of business was to get the capacitors and battery replaced. I used tantalum capacitors instead of electrolytics to prevent the same thing from happening again down the road. This presented some challenges, as some of the larger electrolytics had very different footprints from their tantalum counterparts.
I simply ran some wire from the leads on the capacitors to the holes on the board, and that seemed to work well.
The next order of business was to figure out what was going on with the display.
It looked like one of the driver coils was not working. After checking out the analog board, the issue was pretty obvious.
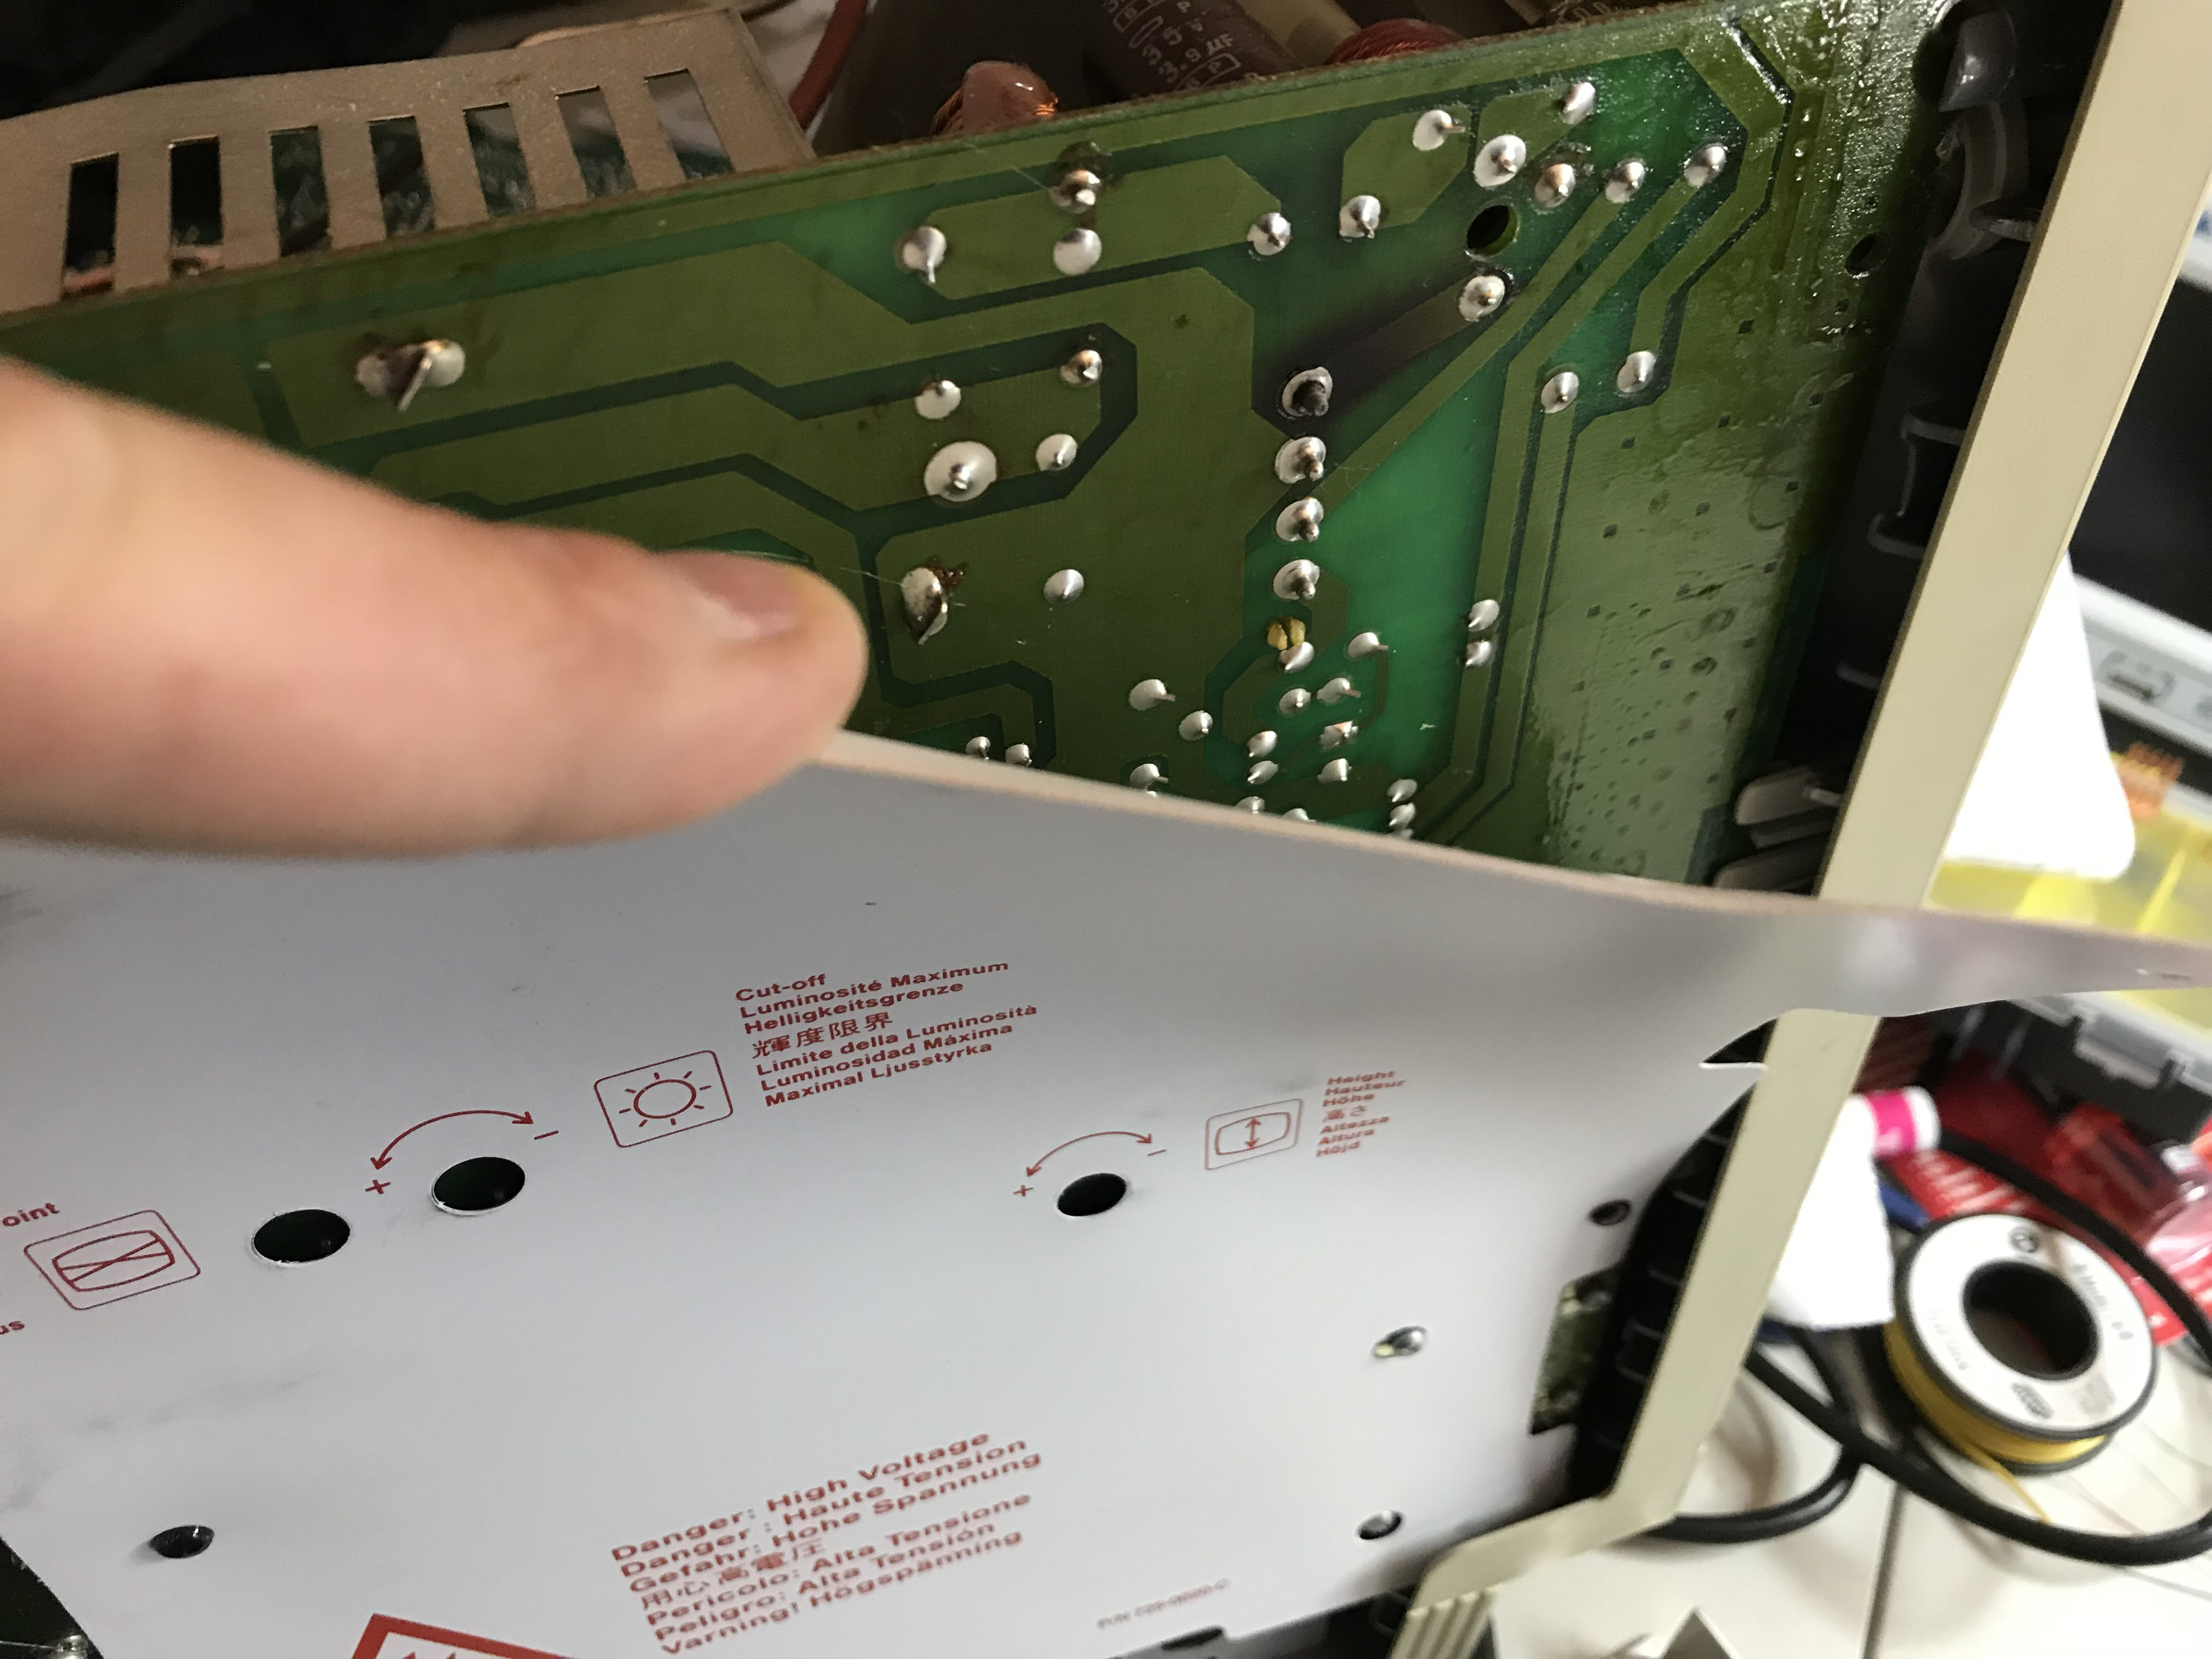
I resoldered all four connections that went to the horizontal and vertical coils on the CRT, and then fired the system up to see where we’d gotten.
This is where we ended up:
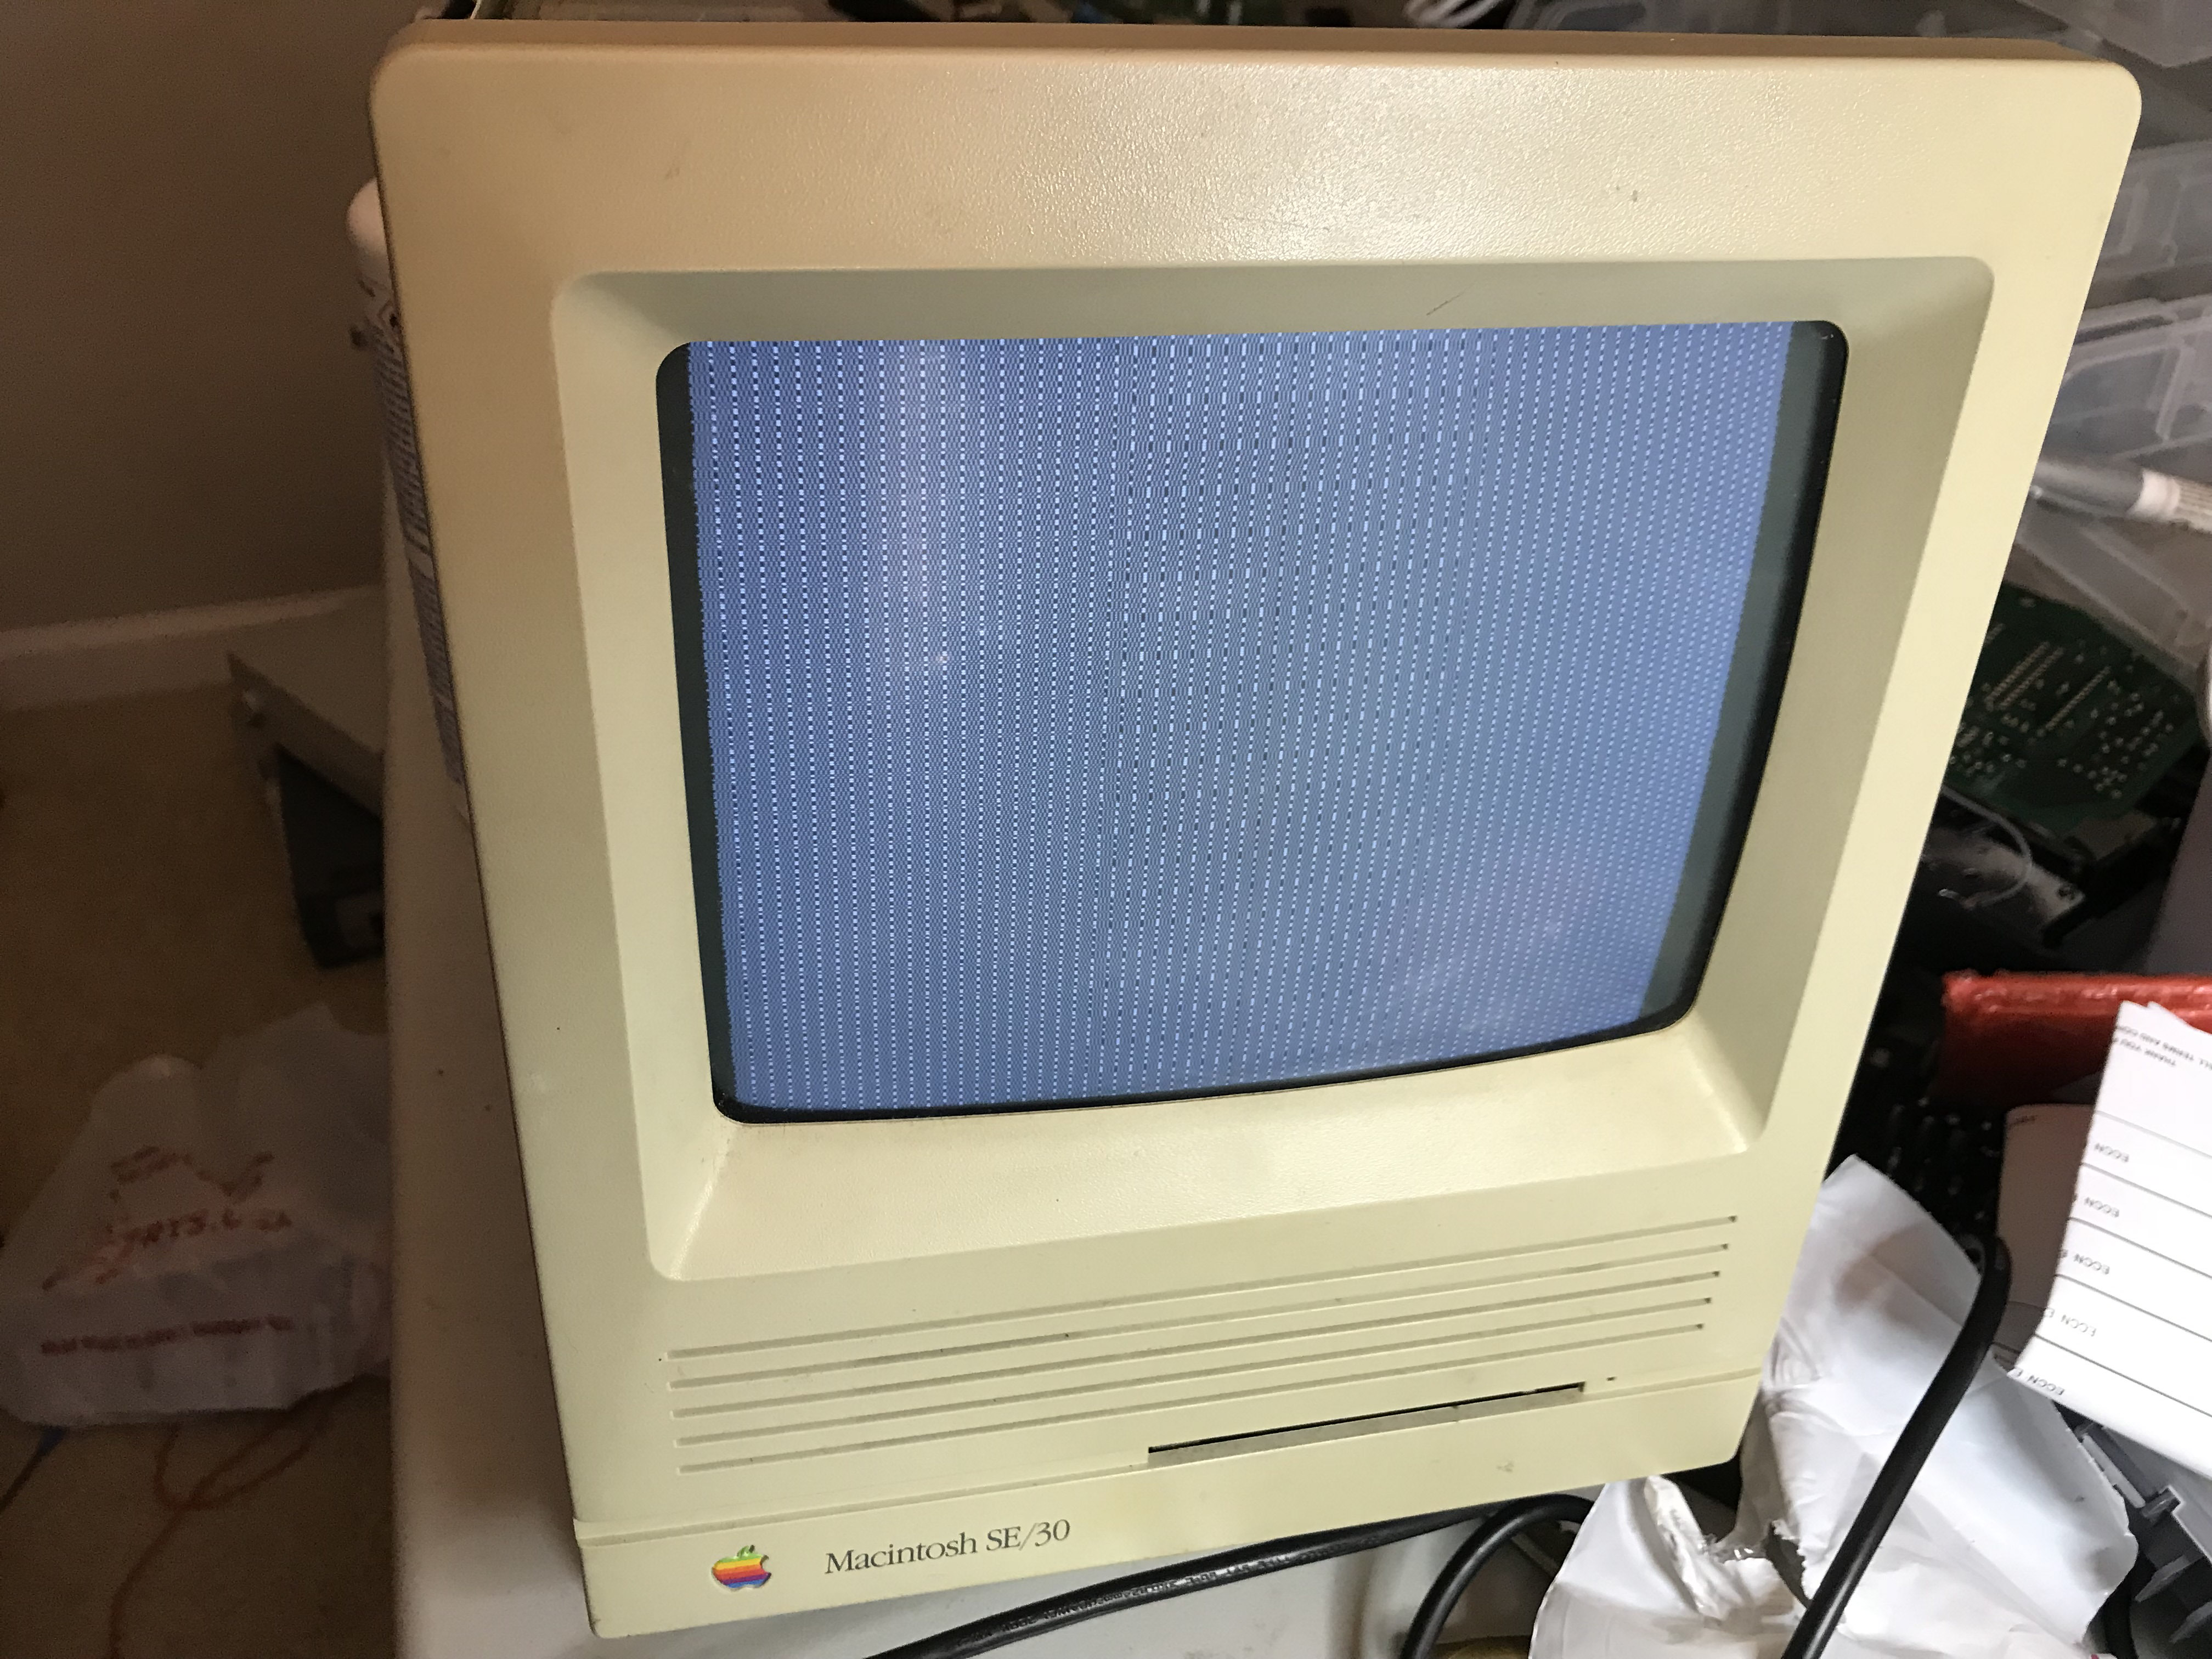
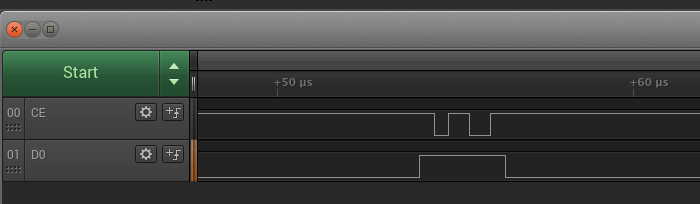
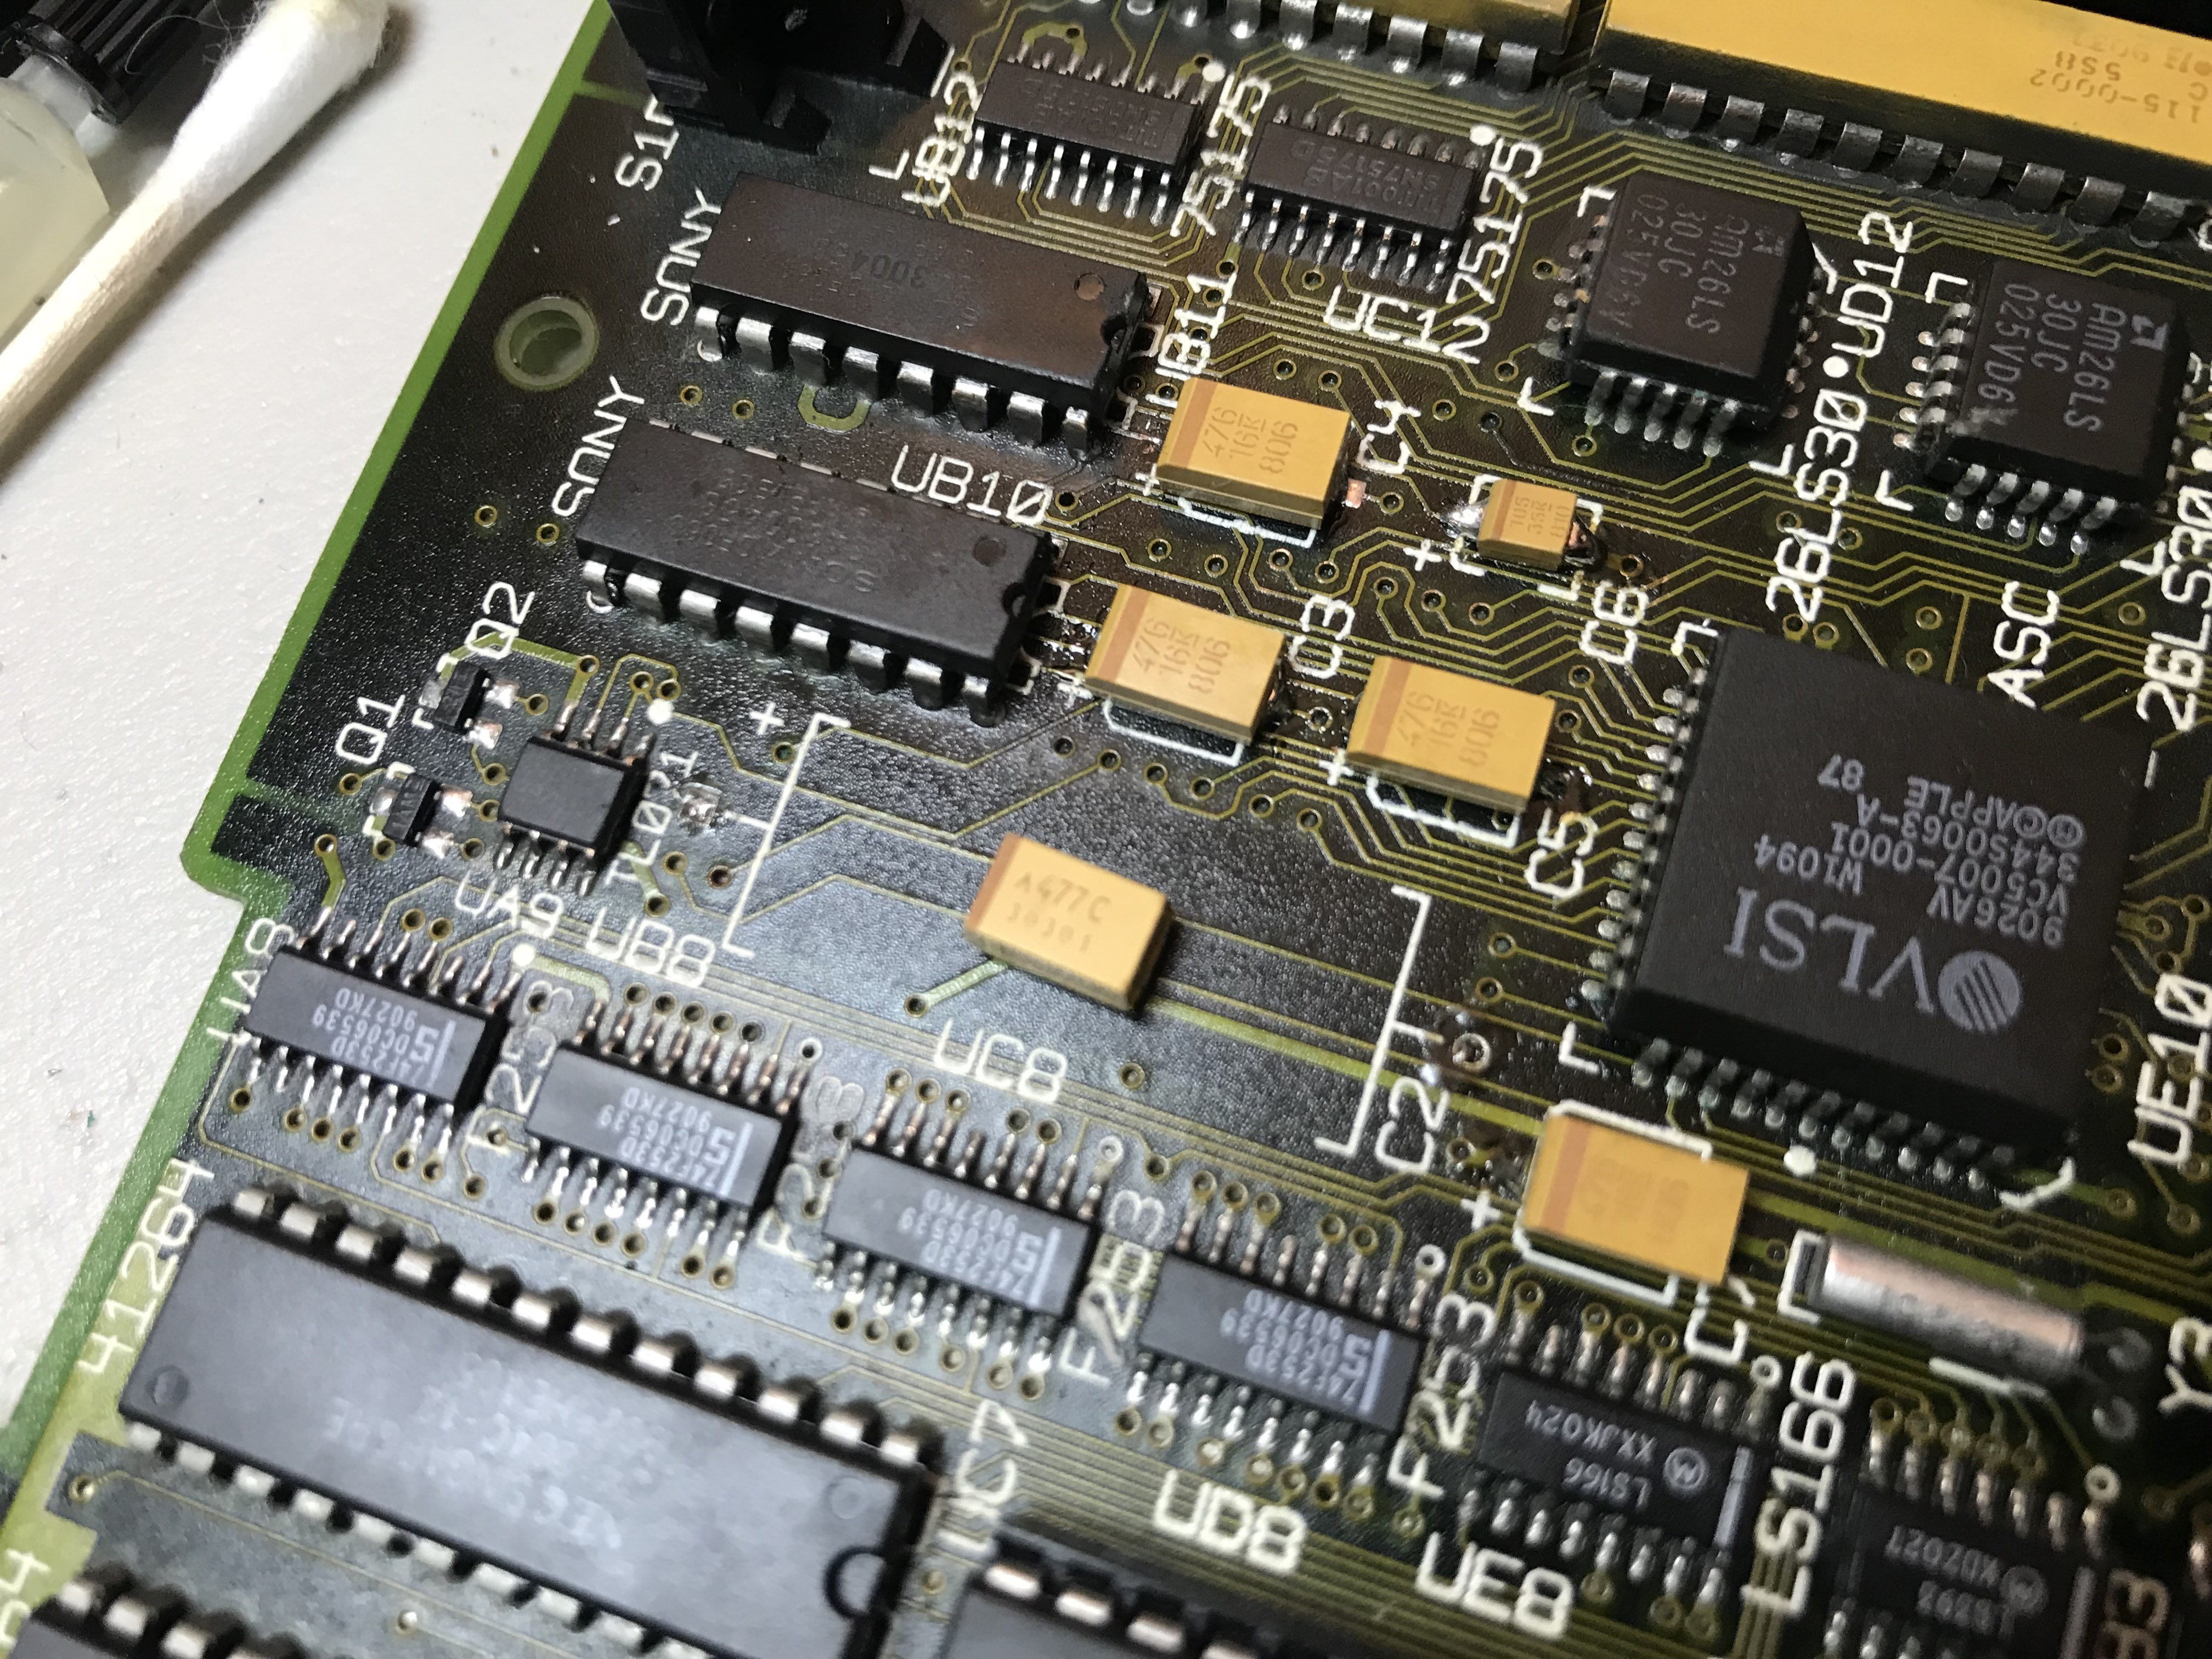
After some research, this is known as a “Simasimac” screen. Interestingly, it seems that when there is basically *any* failure of address or data lines between the CPU, ROMs, and RAM, this exact pattern is displayed. I was disappointed that it didn’t fire right up, however, it seems that if I take the time to test continuity between all of the CPU, ROM, and RAM pins and reconnect any broken ones using rework wire, I’ll probably end up with a functioning Mac. It’s going to be a pain to work through, but fortunately schematics of these computers are available, so that should eliminate a lot of the guesswork involved.
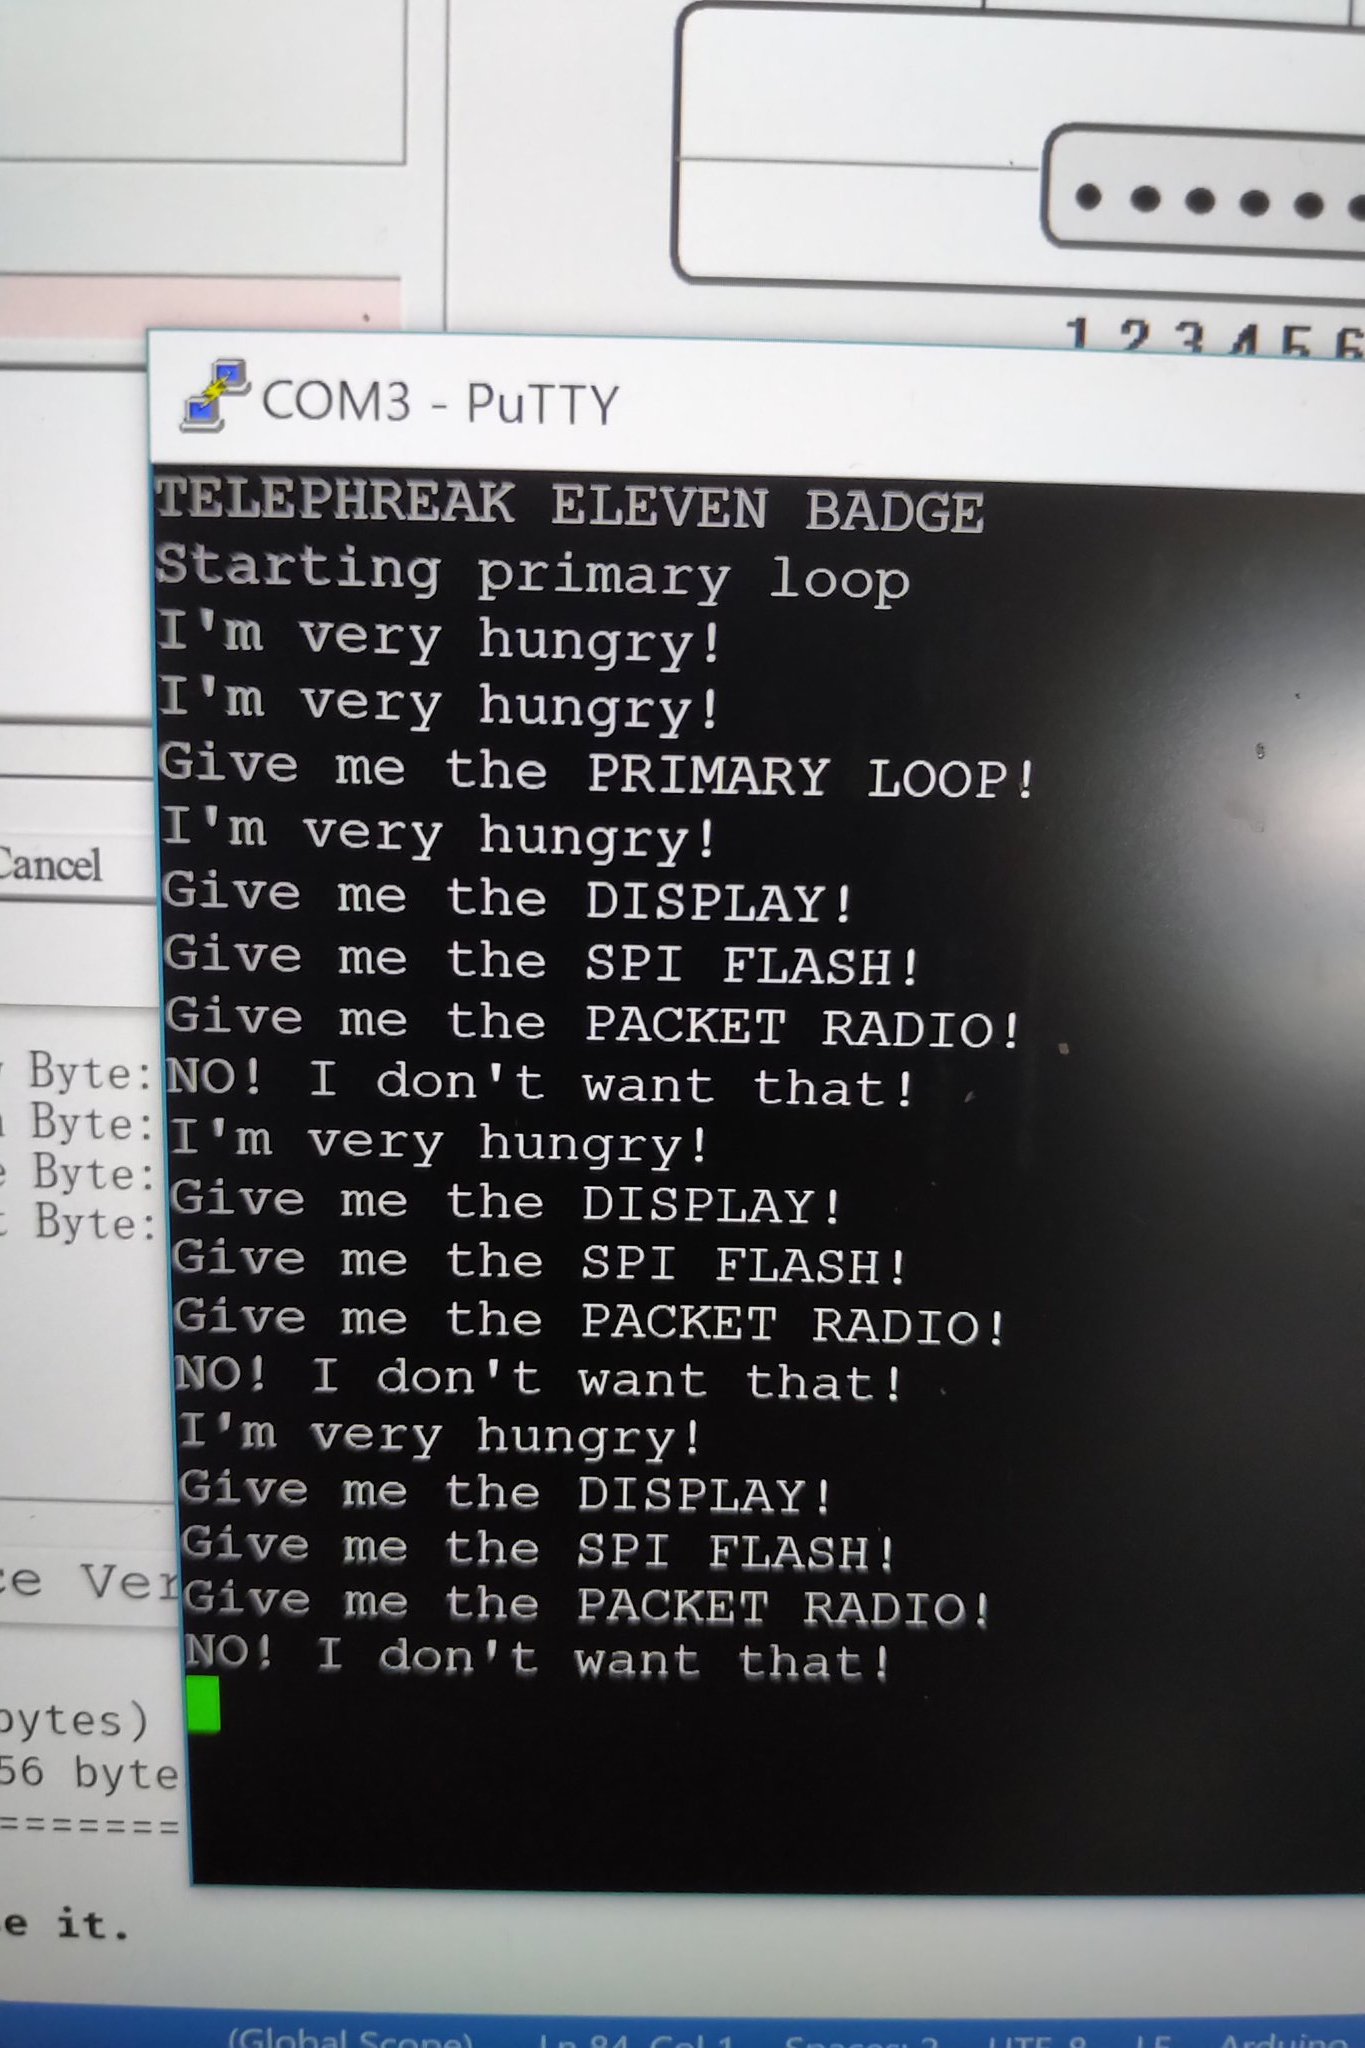
Telephreak 11 Badge Release Notes
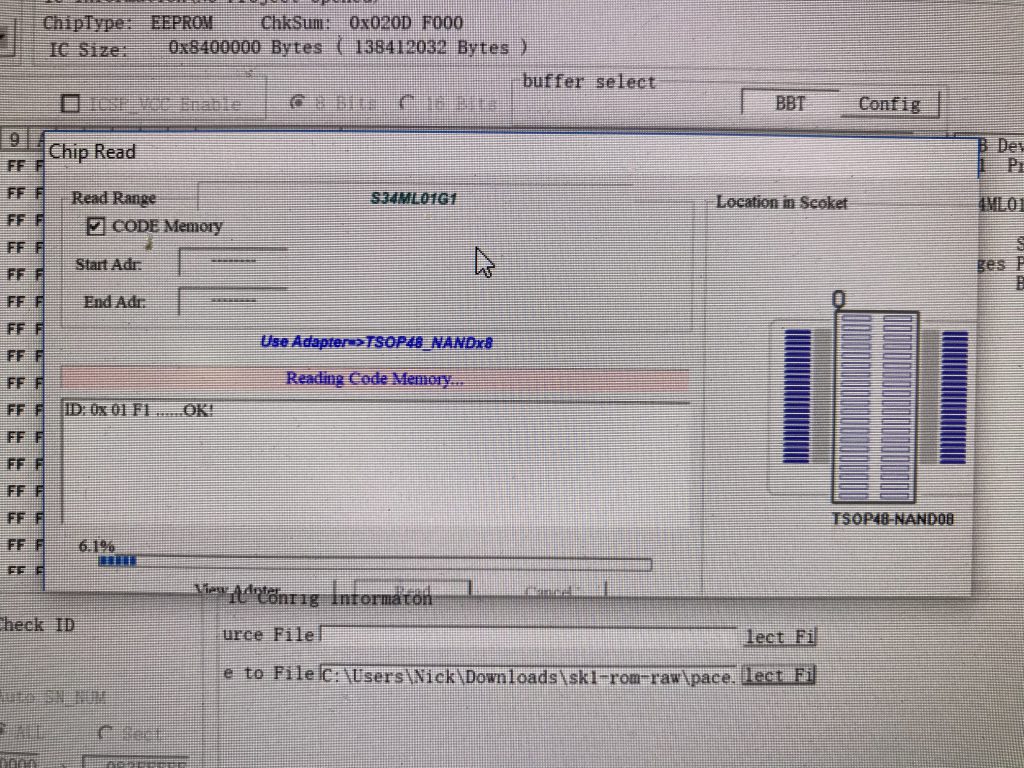
Getting into the Pace 5268AC Router, part 2: Dumping the Flash Chip, Finding Keys